Are you looking for a stylish, easy-to-install, and cost-effective way to update your home’s aesthetic? If so, peel and stick Zellige tile might be the perfect solution for you. With its vibrant colors, unique textures, and simple installation process, this traditional Moroccan tile style can instantly add sophistication and warmth to any room.
In this comprehensive guide, we’ll cover everything you need to know about peel and stick Zellige tiles. From their history and benefits to installation tips and maintenance suggestions, this article will provide you with all the information you need to create a stunning, timeless look in your home.
What is Peel and Stick Zellige Tile?
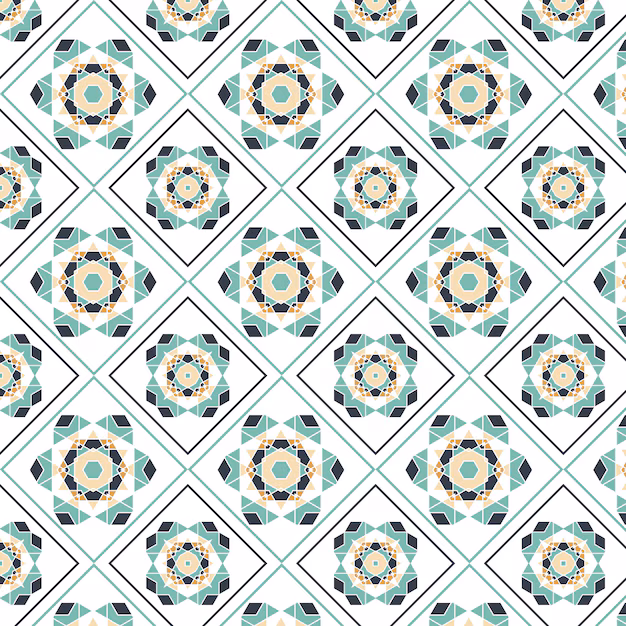
Zellige tile is a type of traditional Moroccan tile that’s handmade from natural clay. These tiles have a glossy finish and are known for their rich, vibrant colors and intricate patterns. Each tile is unique due to the handcrafting process, adding a touch of artistry and authenticity to any space.
In the past, Zellige tiles required professional installation, which could be both costly and time-consuming. However, with the introduction of peel and stick Zellige tiles, homeowners and DIYers can now enjoy the same beauty and elegance of traditional Zellige tile without the need for specialized skills or tools. These tiles feature an adhesive backing that allows you to simply peel off the paper and stick them onto your walls, saving you both time and money.
The Benefits of Peel and Stick Zellige Tile
1. Effortless Installation
The most obvious benefit of peel and stick Zellige tile is its ease of installation. Traditional tile installation requires specialized tools, such as tile cutters, grout, and mortar, as well as a lot of time and patience. With peel and stick Zellige tiles, all you need to do is peel off the backing and press the tile firmly onto your wall or surface. There’s no need for messy adhesives, making it a perfect option for DIYers.
The installation process is quick, and you can update your space in just a few hours, depending on the size of the area you are working on. Whether you’re installing them in your kitchen, bathroom, or creating an accent wall in your living room, peel and stick Zellige tiles provide a hassle-free solution.
2. Cost-Effective Renovation
Renovating your home with traditional tiles can be costly, especially when you factor in the price of professional installation. Peel and stick Zellige tiles offer an affordable alternative, allowing you to achieve the luxurious look of Moroccan-style tiles without the hefty price tag.
Since these tiles are designed for easy DIY installation, you can save on labor costs. This makes peel and stick Zellige tiles a great option for homeowners on a budget who still want to add a touch of elegance to their space.
3. Durable and Long-Lasting
Despite being peel-and-stick, these tiles are designed to be durable and long-lasting. Made from high-quality materials, peel and stick Zellige tiles are resistant to moisture, heat, and stains, making them ideal for use in areas such as kitchens and bathrooms.
The strong adhesive backing ensures the tiles stay securely in place for years to come, provided they are applied correctly to clean, smooth surfaces. Whether you are looking for a backsplash for your kitchen or a stylish shower wall, these tiles will not only add beauty but also stand up to daily wear and tear.
4. Variety of Colors and Designs
Peel and stick Zellige tiles come in a wide range of colors and patterns, from traditional earthy hues like terracotta, blues, and greens to more contemporary shades. The variety of designs allows you to customize the look of your space to match your personal style, whether you prefer classic Moroccan aesthetics or a more modern, minimalist look.
Each tile has its own unique glaze and texture, giving your walls a beautiful, hand-crafted look that is hard to replicate with mass-produced tiles. You can mix and match colors to create unique designs or opt for a single shade for a more uniform appearance.
5. No Mess, No Stress
Traditional tile installation can be messy and time-consuming, especially when it involves grout and mortar. With peel and stick Zellige tiles, there’s no need to worry about cleaning up adhesive or grout. The easy-to-remove backing eliminates the hassle, allowing you to quickly and cleanly transform your space.
These tiles are perfect for renters or homeowners who want to update their space without making permanent changes. If you ever decide to remove the tiles, they can be easily peeled off without leaving behind residue or damage to the underlying surface.
How to Install Peel and Stick Zellige Tiles
Installing peel and stick Zellige tiles is a straightforward process that doesn’t require any special tools or skills. Follow this step-by-step guide for a smooth and successful installation:
Step 1: Prepare the Surface
The surface you’re applying the tiles to should be clean, smooth, and dry. Start by wiping down the area with a mild cleaner to remove any dust, grease, or grime. If the surface is uneven or rough, sand it down to create a flat and smooth foundation. This will ensure the adhesive on the back of the tiles sticks properly.
Step 2: Measure and Plan Your Layout
Before you start applying the tiles, it’s essential to plan your layout. Measure the area you want to tile and determine how many tiles you will need. Lay out the tiles on the floor or countertop first to get a feel for the design and ensure that they fit properly in the space.
If your tiles have a repeating pattern, make sure to align them in a way that maintains the consistency of the design. Use a level or ruler to draw light pencil lines on the wall as a guide to help you place the tiles evenly.
Step 3: Peel and Stick
Start by peeling off the backing of the first tile. Carefully align the tile with your marked guide and press it firmly onto the wall. Use your hands or a smoothing tool to press the tile down evenly and ensure that there are no air bubbles underneath.
Continue to peel and stick the tiles, row by row, making sure each one is aligned with the previous tile. If you need to trim tiles to fit around corners or edges, use a utility knife to cut them to the desired size.
Step 4: Smooth Out Air Bubbles
If you notice any air bubbles under the tiles, gently lift the tile and reapply it. Alternatively, you can use a smoothing tool or a flat object, like a credit card, to push the bubbles out as you go.
Step 5: Finish the Edges
Once all the tiles are installed, check the edges for any gaps or unevenness. If necessary, use caulk or trim pieces to finish the edges and give your installation a clean, polished look.
Step 6: Allow to Set
Give your peel and stick Zellige tiles some time to set, typically 24-48 hours, before using the space. This ensures the tiles have fully adhered to the wall and will remain secure.
Maintenance and Care for Peel and Stick Zellige Tiles
Peel and stick Zellige tiles are low-maintenance and easy to clean. However, to ensure they remain in great condition over time, follow these maintenance tips:
1. Regular Cleaning
Keep your peel and stick Zellige tiles looking fresh by cleaning them regularly with a damp cloth and mild soap. Avoid using harsh chemicals or abrasive scrubbers, as these can damage the tile surface.
2. Avoid Excessive Moisture
Although peel and stick Zellige tiles are water-resistant, it’s important to avoid letting excess moisture accumulate on the surface. Wipe up any spills or splashes immediately to prevent water from seeping behind the tiles and damaging the adhesive.
3. Touch Up Edges if Needed
If the edges of your tiles begin to lift or peel over time, you can use additional adhesive to reattach them. Be sure to clean the area thoroughly before applying any new adhesive to ensure a strong bond.
4. Use Grout for a More Traditional Look
If you prefer the traditional look of Zellige tiles with grout, you can apply grout between your peel and stick Zellige tiles after installation. This will give your tiles a more authentic appearance, but keep in mind that it will make the cleaning process a bit more involved.
Design Ideas with Peel and Stick Zellige Tiles
Peel and stick Zellige tiles are versatile and can be used in various settings and designs. Here are some creative ways to incorporate these tiles into your home:
1. Moroccan Kitchen Backsplash
A Zellige peel and stick tile backsplash can add a beautiful touch to your kitchen. The tiles’ rich colors and patterns will make your cooking area a standout feature in your home. Pair them with simple, modern appliances to create a balanced look.
2. Bathroom Accent Wall
Transform your bathroom with a Zellige peel and stick tile accent wall. The glossy finish and intricate designs will add depth and texture to the room, creating a spa-like atmosphere.
3. Feature Wall in the Living Room
Add a touch of Moroccan charm to your living room with a statement wall made from peel and stick Zellige tiles. Whether you choose to cover an entire wall or just create an accent panel, these tiles will elevate the look of your space.
4. Hallway or Entryway Update
Create an inviting and unique entryway with Zellige peel and stick tiles. Use them to line the walls of your hallway or add a striking accent to the front of your entryway for a dramatic effect.
Conclusion
Peel and stick Zellige tiles offer a quick, affordable, and stunning way to bring the beauty of Moroccan craftsmanship into your home. Whether you’re updating your kitchen backsplash, adding a bathroom feature wall, or creating an accent wall in your living room, these tiles will infuse your space with color, texture, and timeless style.
Ready to transform your space? Explore our collection of peel and stick Zellige tiles at Clever Mosaics and start your home renovation today!